Reading
Add Comment
I recently began to work with a wonderful Android OpenGL ES framework called AndEngine. It comes in 2 versions, one for each of the OpenGL ES standards supported in Android, viz 1 and 2. From what I have been able to gather from a decent amount of Googling, most of the efforts are now being channeled to the OpenGL 2 version. This is the version I use and I will briefly discuss how to set it up.
AndEngine and probably, at this point in time (I cannot confirm this but that seems to be the implication from the noises coming from the forums), most of its extensions need to be set up as a library project before you can use them. There are no *.jars for you to ad to your libs folder.
An Android Library project is very similar to your default Android project, but for the fact that it is tagged as a library project when you set it up. From my examination of library projects one notable point is the fact that it has no default class 'android:name=".myDroidApp"'set up as the entry point in your application node of the application manifest. There is also no intent-filter node. This of course may just be the ones I have seen but certainly in the AndEngine library project this is so. A normal Android project can be converted into a library project by selecting the option is Library in the Properties>Android menu screen.
Setting up AndEngine as a Library project.
- Clone the Git repository on your computer (I advice against using the ZIP download - I do not think it has been updated for a while. Using the package in the zip resulted in scores of errors)
- Open Eclipse and using the Import project navigate to the clone folder and select it as the project source.
- Select the project to be imported and click Finish.

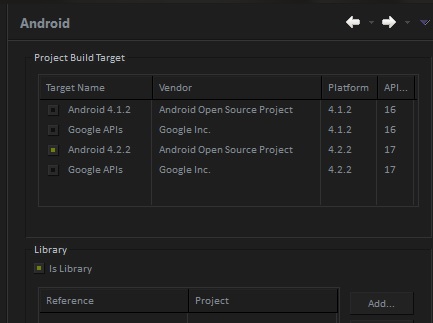
To check if you have been successful do Properties>Android and your should see the Is Library radio button selected.
Now you can add AndEngine to your project
AndEngine
Android
0 comments:
Post a Comment